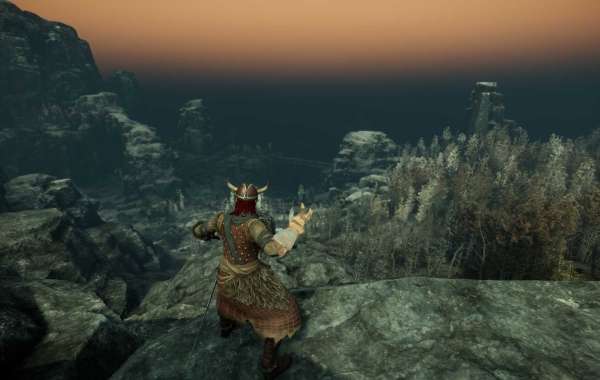

Weekly Damage Trials in ARC Raiders aren't really about clearing the whole map. They're about getting useful damage on the board without having your run cut short. That's why the Matriarch stands out. Its huge health pool gives you time to build a score instead of sprinting from one small target to another. A well-planned attempt can also support the rest of your progression, from gathering resources to hunting down ARC Raiders BluePrints for future loadouts. You don't need to rush the kill, either. The better play is often to control the fight, keep your weapon active, and leave once you've earned enough points. It feels slower at first, but the scoreboard usually tells a different story.
Why One Large Target Beats a Busy Farming Route
Popular ARC farming areas look tempting because there are targets everywhere. The trouble is that everyone else has the same idea. By the time you reach an elite unit, another player may already have destroyed it. Even when you get there early, nearby squads can force you into a PvP fight that has nothing to do with the Trial. Your damage uptime drops, supplies disappear, and a decent run turns into a scramble for the nearest exit. The Matriarch cuts out much of that wasted movement. Once you've found a workable position, you've got a single target that can absorb sustained fire for a long stretch. You can settle into a rhythm: shoot, move, recover, then shoot again. There's less time spent searching and more time earning points. You'll also learn the encounter more quickly because you're repeating one readable fight rather than reacting to a random mix of enemies and players.
Using Solo vs Squads Without Playing Recklessly
Entering Solo vs. Squads can give you more control, but it isn't a magic switch that makes the map safe. You're still one player in a lobby where organised teams can appear at any moment. The advantage is that many squads have their own routes, objectives, and extraction plans, so they won't always contest the Matriarch. Get into the area quietly and watch before firing. Check common approach lanes, listen for nearby weapons, and make sure you've got a retreat path. Once the engagement starts, don't stand in the same place just because the angle is good. Fire from cover, shift after major attacks, and avoid backing yourself against the edge of the arena. If another group arrives, you don't have to challenge them. Break line of sight, let the situation settle, and decide whether the remaining score is worth the risk. A live Raider can extract. A greedy one usually leaves the rewards behind.
Loadout Choices and Damage Uptime
The best weapon isn't always the one with the biggest burst. For this Trial, reliability matters more. Bring something you can control at the range you expect to fight, along with enough ammunition to keep pressure on the Matriarch. Healing items and shield recovery are just as important. Don't burn them after every small hit; create distance, use cover, and recover when the attack cycle gives you room. Smaller ARC units can make that difficult. Hornets, Wasps, and other distractions may interrupt your aim or strip your shield while you're focused on the boss. Deal with them when they start costing you more damage than they're worth. A quick cleanup can protect the next minute of uptime. Pay attention to reload timing as well. Reload behind cover or during movement phases, not while the Matriarch has a clear attack window. It sounds basic, but missed reloads and panic healing are where a lot of promising runs fall apart.
Knowing When the Score Is Good Enough
Leaderboard chasing can make players stay far too long. You hit a strong score, see one more clean damage window, and convince yourself that another magazine won't hurt. Then a squad arrives or an area attack catches you with no shield. Set a target before the run begins. It might be enough for the weekly reward, a personal best, or a position you think will hold. Once you reach it, reassess your ammunition, healing, route, and nearby activity. If two of those look bad, start moving toward extraction. Consistent successful attempts are worth more than one spectacular run followed by several losses. Newer players can use this approach to practise movement and target priority. Casual players get a repeatable route that doesn't demand constant PvP. Experienced Raiders can tighten every detail, from damage windows to resource use, while still protecting the score they've already earned.
Final Thoughts
The Matriarch works because it turns a messy Damage Trial into a fight you can plan around. There's still danger, and no run is completely predictable, but you aren't depending on a chain of elite spawns or hoping other players leave targets alive. Prepare for a long engagement, keep open ground available for repositioning, and clear smaller threats before they wreck your rhythm. Just as importantly, treat extraction as part of the Trial rather than something you think about afterward. Better equipment can make mistakes less punishing, so players looking to buy ARC Raiders Armors should still choose gear that fits their movement and recovery plan instead of relying on protection alone. The score comes from steady pressure, sensible decisions, and knowing when to walk away with the run intact.